
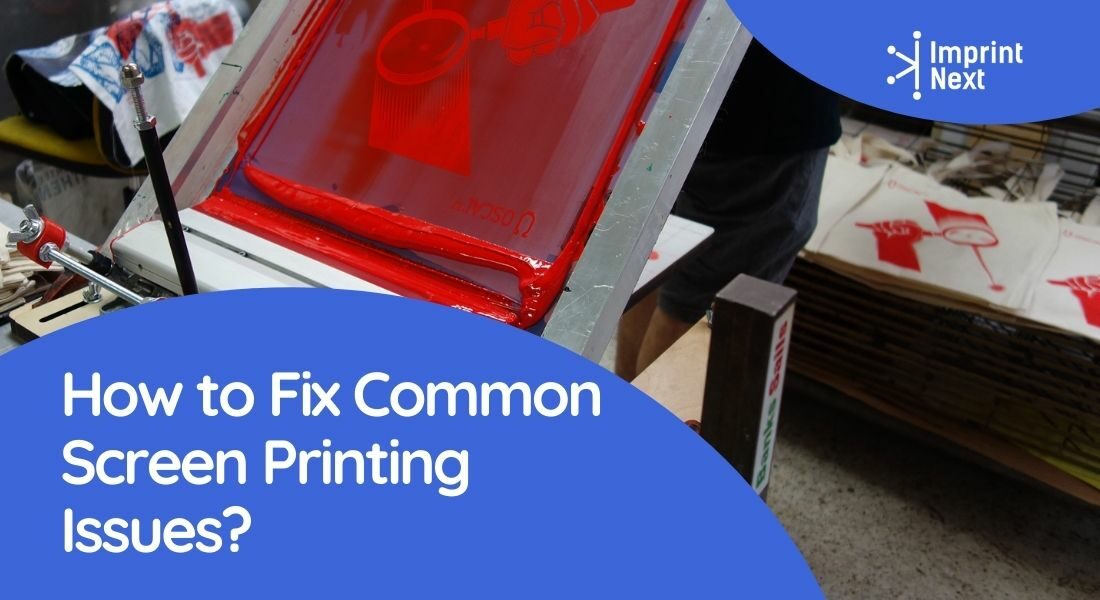
How to Fix Common Screen Printing Issues?
![]() |
20642
/
|
20642
/
Last Updated on: 5th April 2024, 11:48 pm
Screen printing is a business for some people while it may be a bigger production chain for others. It is important to get prints last longer coming off your screen printing press.
Mastering screen print does not mean that every time you turn out with a perfect picture. It is not exactly about getting the same print as the print file. But there can be an issue when there is an uneven application of ink at the edges.
In this way, there are several issues you can examine when your prints are not coming bright, crisp, and clear especially at the edges.
Commons Issues to Fix in Screen Printing:
01. While coating the screen, lines appear in the emulsion:
This happens when the blade of the coating trough is dirty or damaged. So, look at the edge and the tough. You will see small flecks of dried emulsion. It happens when you do not clean the blades properly. It dries over time.
Want to Boost Your Print Shop Revenue?
Schedule a free consultation
Moreover, aluminum troughs are susceptible to damage. Because they are soft and vulnerable to rough use.
02. After you expose the screen image does not wash out completely:
This problem occurs when the screen coated with emulsion dries over time. In addition to that, light contaminates the screen before its exposure. In such a case, you may strip the screen and start again.
A similar problem also occurs when you print the garment with fine imagery or on an incorrect mesh. Moreover, when the exposure time is too long.

Do you have printers? Are those printers sitting idle?
Become a Print-on-Demand dropshipping app like Printful or Printify. Dropship your merchants' orders.
Unlimited Merchant stores. Dropship and Fulfil Merchants' orders. Manage merchant invoice, sales commission, etc. Merchants sell the designed products in shopify, etsy stores, etc.
Know moreTherefore, you must ensure that you are using a 120T mesh for extra fine imagery with the correct exposure time.
03. Wash away emulsion after rinsing the screen:
This happens when you leave thick areas of emulsion. That is to say, the screen is not coated evenly.
So, you need to start again by washing off all the emulsions. Then apply the emulsion evenly in a single coat on the flat side of the screen.
04. Quick-drying of ink on the screen:
If you find the ink is drying on the screen as soon as you print, thus affects your print quality. You may take it to the washout booth, then give it a good rinse and start again.
Quick-drying happens when adding too much ink with the print medium. It can also be caused when you are you are leaving the screen to dry between the prints instead of flooding.
In such cases, mix a small amount of retarder with the ink to lower the risk of ink drying on the screen.
You may often find that white ink dries more quickly than other color pigments. Therefore, using white ink or other colors, you must use a retarder to prevent such problems.
Boston based custom slide sandal maker has become $10 Million company using an online designer and unique growth marketing.
Read more05. Staining mesh more than required after printing:
Excessive staining occurs when you mix too much ink with the print medium. You can lower the risk of staining by flooding your screens between prints.
You may also apply any disinfectant cleaner spray onto the screen. Even a small portion of ink that has dried on the screen, the disinfectant application will remove the ink without requiring you to mix with any other medium. Finally, rinse the screen thoroughly.
06. Image bleeding at its edges:
This happens when too much ink is passing through the screen. Ensure that you are using a squeegee that is approximately a 45-degree angle to the screen.
Pull the ink through the ink once. Pulling the ink more than once will put too much ink on the screen and cause bleeding.
The possible solution is cleaning the excess ink from the screen and squeegee. Pull the squeegee over ink without using extra ink onto a low-cost paper like a newsprint.
Do this again and again until you find no excess ink on the newsprint. It may require you to take a maximum of three to four pulls. Do it quickly to avoid the drying of screens. Moreover, you can rinse your screen in the washout a start again.
07. Image sticks to the back of the screen after printing job:
If you spread the ink over a large area or the printed area is the same size as your paper, it sometimes sticks the image to the backside of the paper.
To fix this issue, use a larger paper, or be aware to pull off the paper before it floods on the screen.
If you are using a vacuum bed, place newsprint paper over the exposed holes to focus the air on your print area.
08. Check ink viscosity:
You may find many brands that ensure print-ready inks, but in a few terms they are only a few are true. Therefore, to remain on the safe side you should thoroughly mix your ink to fix poor viscosity issues.
You can also mix additives into the ink to thin and make it suitable for your printing job. These additives thin your ink thus allowing your ink to bleed beyond the boundaries of your stencil during printing.
09. Off-contact adjustment:
To get a bright and clear screen print, you should be able to snap the squeegee upward to shear the ink. Maintaining an off-contact distance creates a space between the screen a squeegee.
For lighter garments like t-shirts, set your off-contact distance at 1/16th of an inch and for thicker substrates, set a distance of ⅛th of an inch.
For other substrates, you can consider experimenting to get the correct off-contact distance by performing a trial of your screen print.
10. Movement of the substrate:
While printing if your substrate is not stable, i.e shaking or displacement, it is obvious to get blurred edges and even affects the entire image too.
To fix that, first, check your pallets to check they are not loose before screen printing.
If your pallets are ok then check the adhesives you are using to keep the substrate in place. You can use spray additives because it is easy to apply.
If you are printing heavier fabric, you may require a special additive to make the screen printing job done.
11. Fix stencil problems:
If you have set up your screen printing machine properly, fixed all issues as we discussed but still getting problems with print quality, then check for your stencils.
If you do not expose emulsions properly, the edges of the stencil may weaken and wash out during printing.
Too thin emulsions that do not spread across the screen adequately cause blocks on the edges of your screen print.
Conclusion:
Screen printing requires high skill. It is not an art but science that includes numerous topics, subjects, issues, that a book can be written about.
Hence, this blog is all about popular issues that most screen printers face while screen printing. Hope it benefits your purpose.
Do you have printers? Are those printers sitting idle?
Become a Print-on-Demand dropshipping app like Printful or Printify. Dropship your merchants' orders.
Know more4 Visitor Comments
Post a Reply
Most Popular
-
 How To Start A Clothing Line Business Of Your Own?
-
How Much Should You Price Your Embroidery Work?
-
Top 10 Best Commercial Embroidery Machines For 2024
-
Top 10 DTG Printers in 2024 with Price for Print Business
-
Top 20 Wholesale Blank T-shirt Suppliers in USA
-
7 Licenses and Permits Required to Start a Clothing Line Business in USA


Keep sharing such useful information
It is good for who works in printing.
Really useful. Thanks for taking the time to write this.
Informative post for printer technicians. Mostly lines are due to toner issues or cartridge issues. First thing is to change the toner and cartridge and if the issue is not solved then go for next. We being leaders among many printer service centers in chennai we have vast experience in this field.